

About the React Native SDK
Integrate Atoa into your React Native app in minutes using our dedicated SDK. Easily add seamless Pay by Bank payments to new or existing React Native apps. The SDK is available on npm, where developers are welcome to contribute and provide feedback.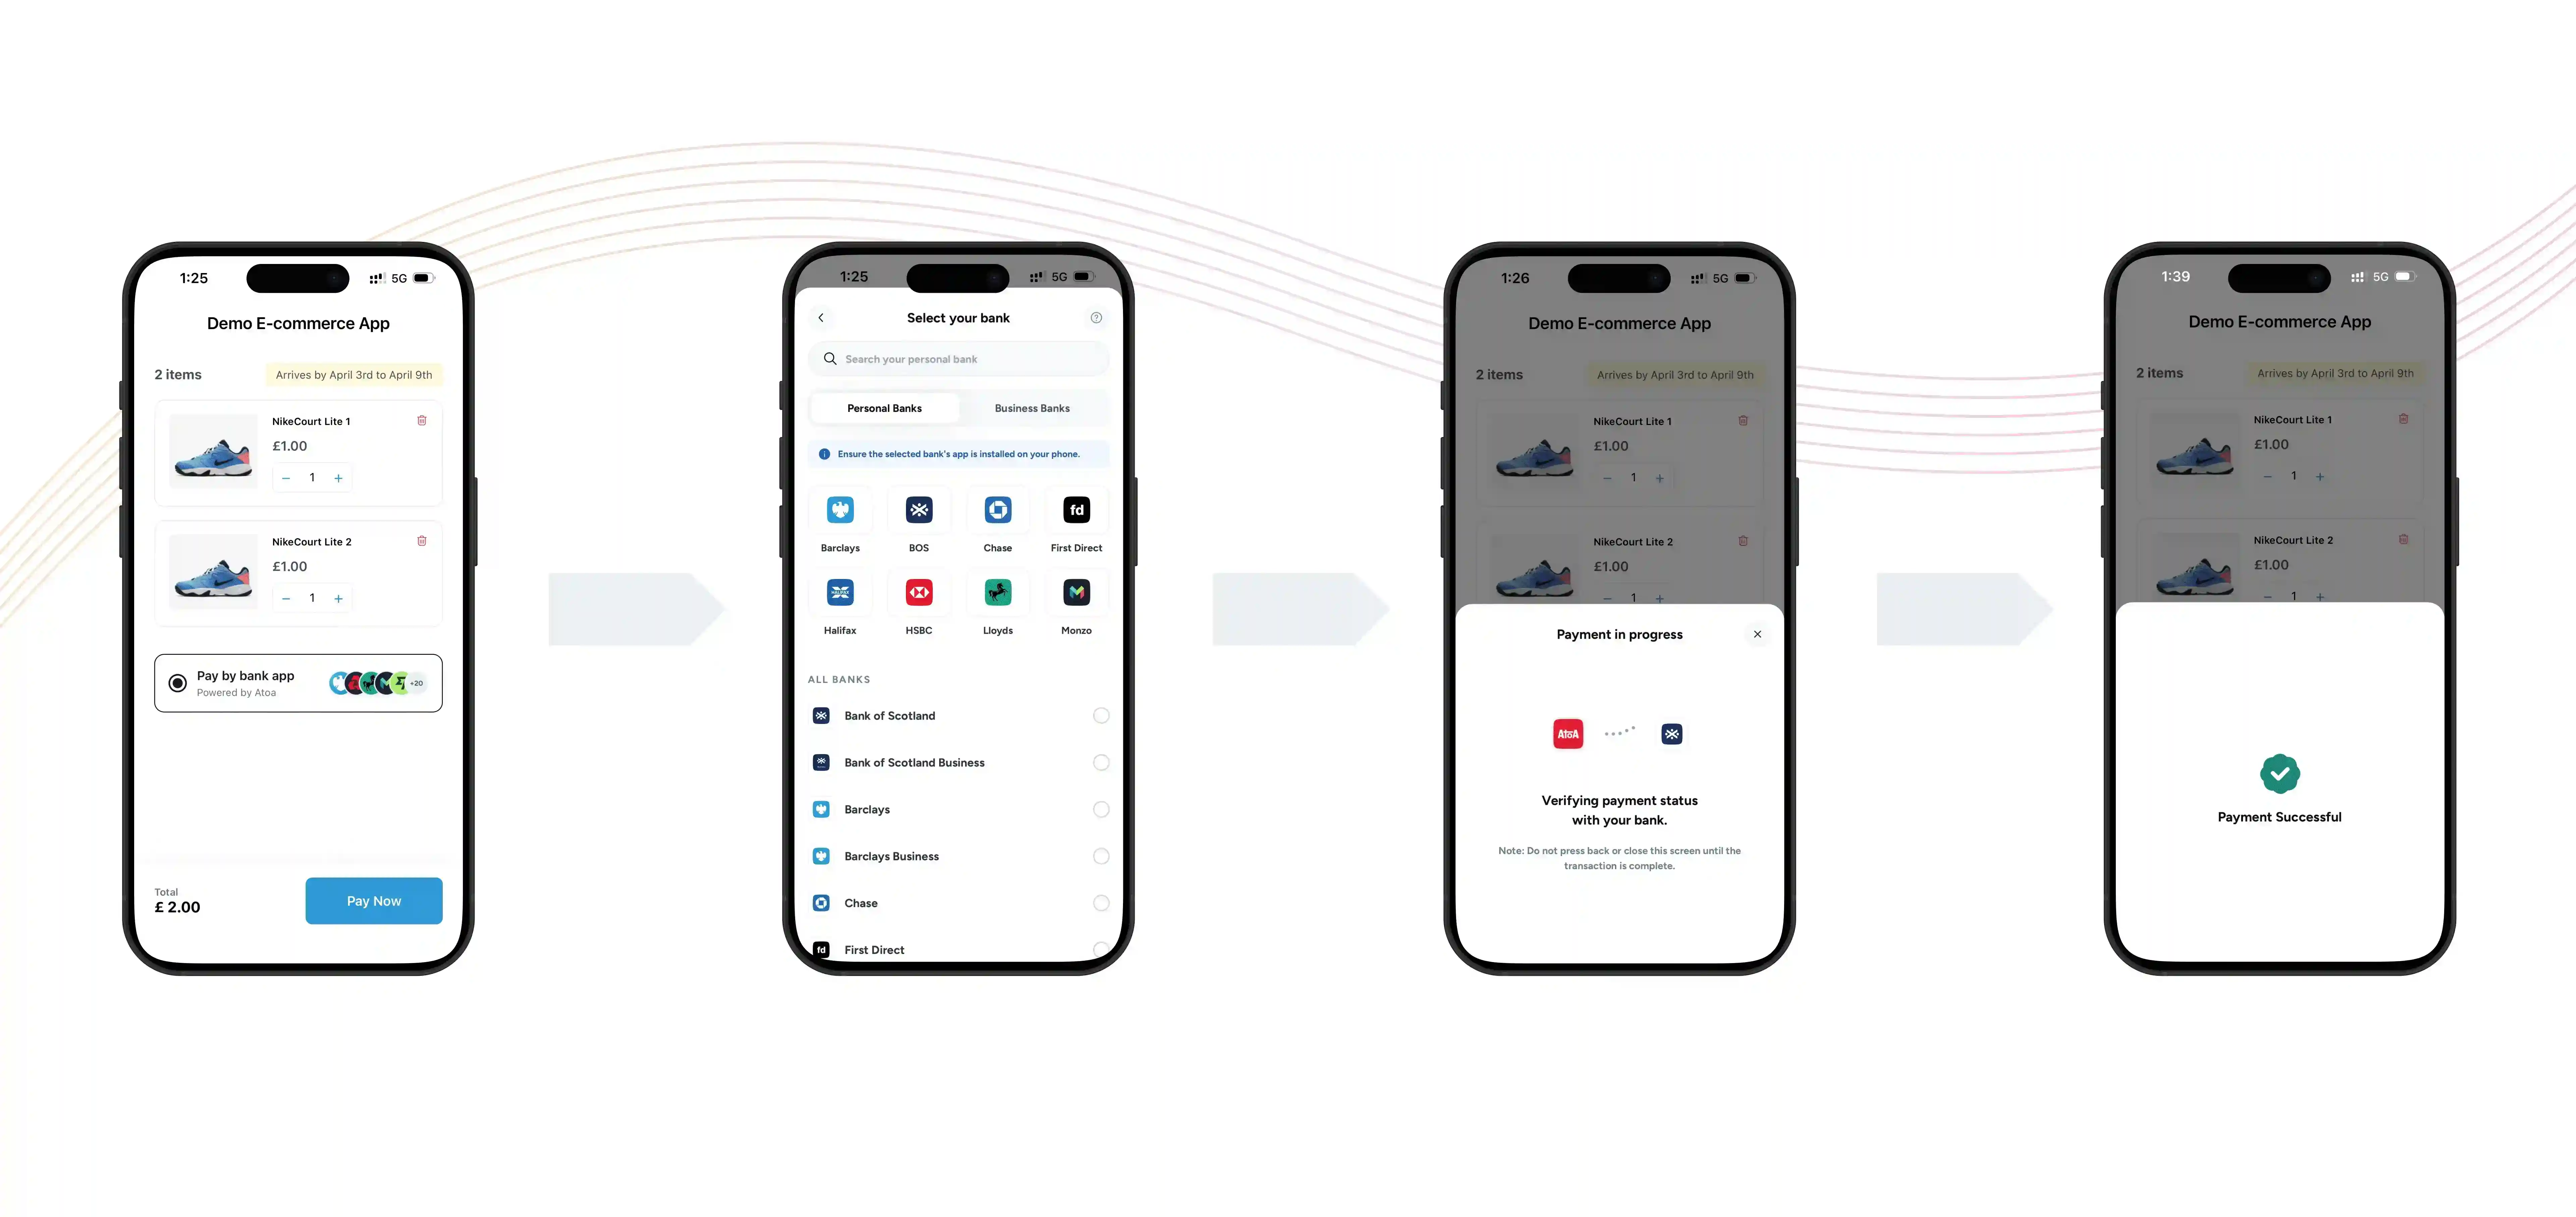
Prerequisites
Before you start, ensure the following setup is complete:- Create an Atoa account: Sign up using our Business App or Web Dashboard.
- Generate API keys: Go to API Access inside the Atoa Business App and generate keys for Sandbox (testing) and Production (live).
- Backend readiness: You must be able to create a Payment Request on your backend server using Atoa APIs before calling the React Native SDK.
1: Install the SDK
Run the following to add the Atoa SDK to your React Native project2. Install required dependencies
The SDK uses a few community libraries for its payment sheet UI. Most React Native projects already have some of these — only add the ones you’re missing.
Install all at once (skip any you already have):
npx expo install instead to ensure compatible versions:
Note:For usage, sample code to integrate can be found in Example app.react-native-reanimatedrequires a Babel plugin. If you haven’t already, add'react-native-reanimated/plugin'to yourbabel.config.js. See the Reanimated installation guide for details.
3. Wrap Your App with AtoaProvider
Wrap your app root with<AtoaProvider> to enable the Atoa payment modal. This is required for AtoaSdk.pay() to work.
react-native-root-siblings in your project, you can wrap with <RootSiblingParent> directly:
4: Generate a Payment Request (Backend)
You can generate a payment using the payment-process API, which must be called from your server while creating an order. Refer to the getting started guide to know moreredirectUrl can be used to redirect the user back to your app after the payment is completed. Follow the information given in the handle redirection steps below
5. Launch the Payment Dialog
After obtaining a valid paymentRequestId, you can now invoke the React Native SDK’s Pay method to show the checkout experience:Pass
customerDetails if available. It pre-selects the user’s previous bank
for faster checkout.SDK Parameters
CallBack Payload Reference
CallBack Payload Reference
Below are the payload structures you can expect inside each callback:
onError
Triggered when an error occurs during the payment processonPaymentStatusChange
Triggered when the payment status updates. Handle COMPLETED, PENDING and FAILED statuses.onUserClose
Triggered when the user closes the payment verification sheet6. Handle Payment Response
You can handle the payment success, failure, pending and other statuses based on payment response7. Handle Redirection (Deep link)
While calling payment-process API to generate a payment, you can specify a redirectUrl in your request body. The redirectUrl, which should be passed as body parameters, redirects to your website and then opens your app via deep linking. This enables users to open your application after payment. Following the completion of the payment by the customer’s bank app, they will be redirected back to their browser. Atoa will transmit the idempotency id, amount and redirect URL with status as query parameters appended to your specified Redirected URL, forming a URL structure like:Subscribe to webhook (Recommended)
Atoa uses webhooks to notify your application whenever an event happens in your account. Webhooks are particularly useful for events such as changes in payment status, such as completion, failure, or pending. To get started, you must Register your webhook endpoint so Atoa knows where to deliver events. After registration, your endpoint will start receiving detailed webhook payloads. These will inform you of payment status updates, such asCOMPLETED, PENDING, or FAILED.
Store Fields in Server
Store the following in your backend once the transaction is complete.8. Check Bank App Installation (Android/iOS Requirements)
Our mobile SDK checks if the bank(using for making payments) app is installed or not. For that, you need to add ‘queries’ tag for android and ‘LSApplicationQueriesSchemes’ key for iOSFor Android
For Android
In Android, you need to add ‘queries’ tag in
AndroidManifest.xmlFor iOS
For iOS
In iOS, you need to add ‘LSApplicationQueriesSchemes’ key in
Info.plist